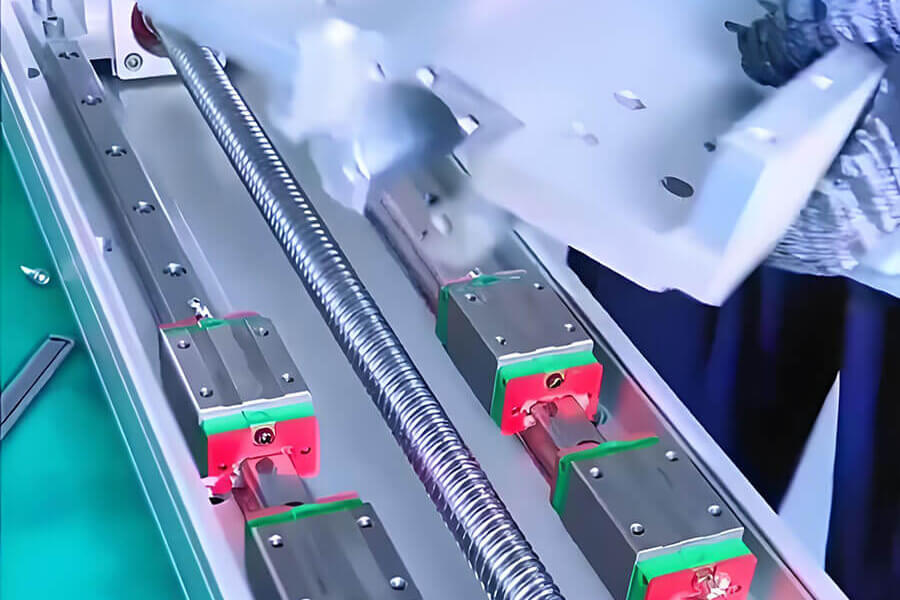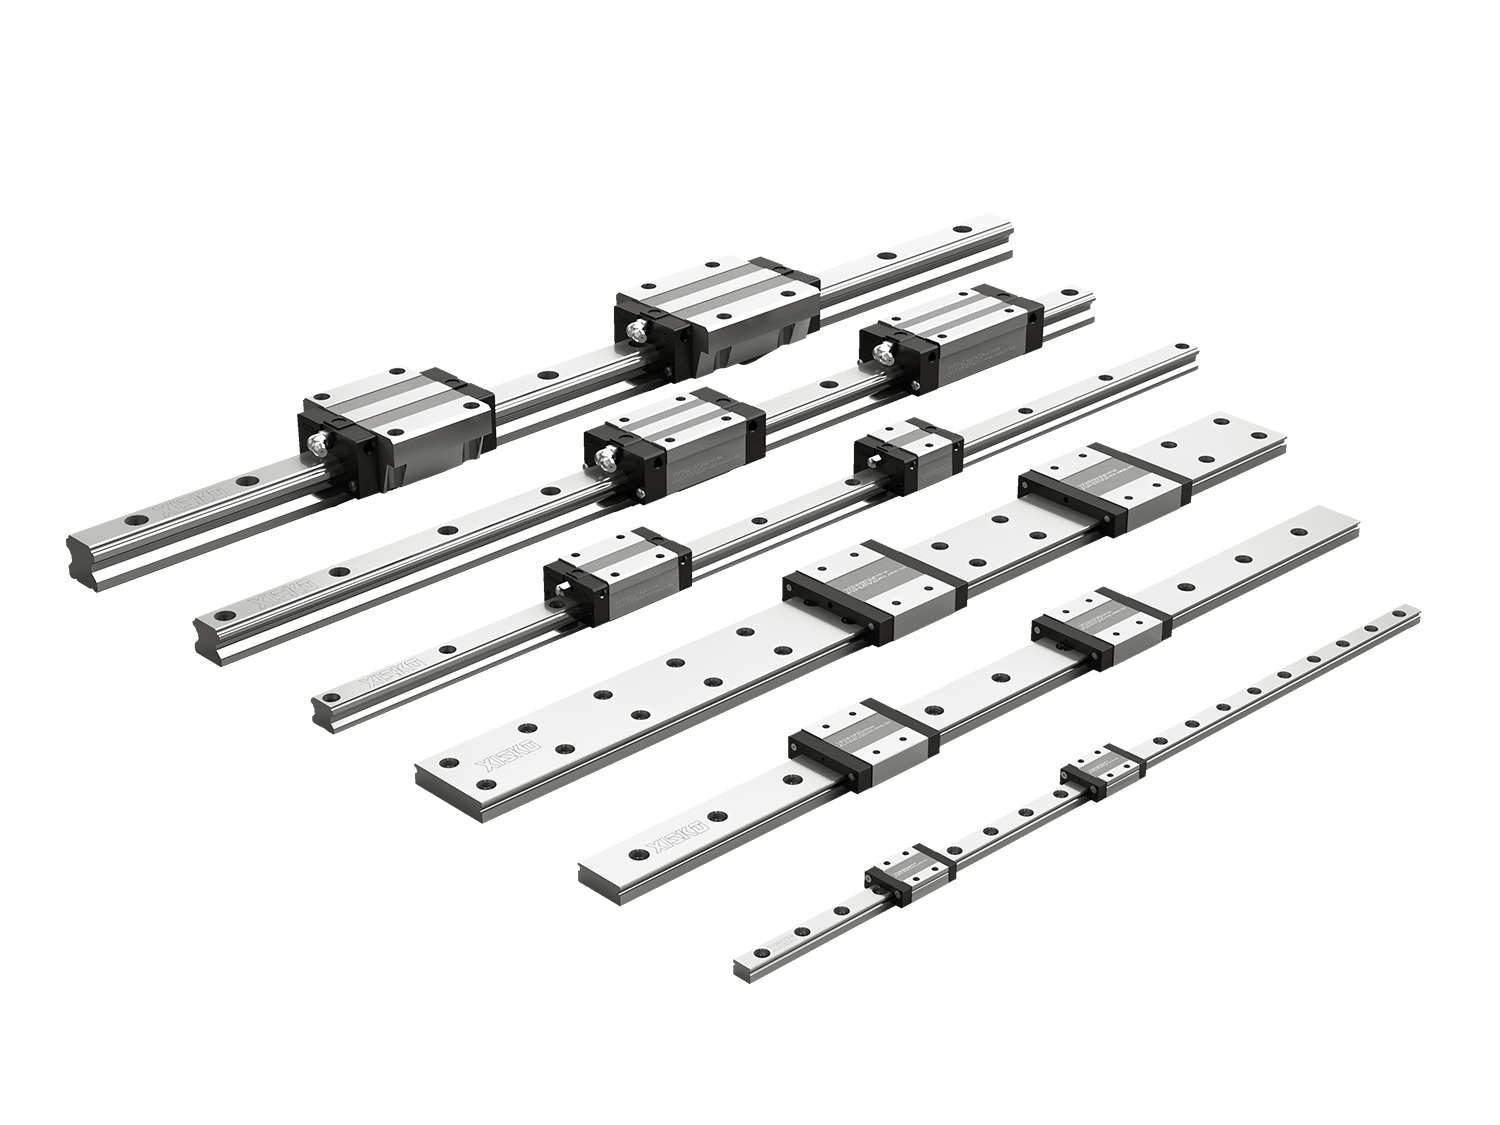

Rail guides, as core components in linear motion systems, are widely used in machine tools, automation equipment, 3D printing, robotics, medical devices, and other fields. Their primary function is to provide precise and smooth linear motion support, thereby ensuring the equipment's machining accuracy and operational stability. For users, mastering guide rail installation methods and selection calculations is crucial to ensuring equipment performance and longevity.
1. Installation Methods
With the widespread use of high-precision rail guides in industrial automation, mastering certain installation techniques is essential. Mastering the correct installation method for linear guides can improve their service life and operational accuracy.
Installation without a lateral locating surface requires ensuring parallelism between the driven and reference rails.
1.1 Installation Method Using a Mounting Reference Surface
First, use mounting screws to roughly secure the linear guide's bottom reference surface to the platform's bottom mounting surface. Then, use a vise to press the rail's side reference surface against the platform's side mounting surface to confirm the rail's position. Then, use a torque wrench to tighten the set screws in sequence to a specific torque, pressing the rail's bottom reference surface against the platform's bottom mounting surface.
1.2 Installing the Driven Linear Guide
Linear Block Method
Place the linear block between the two linear guides. Use a micrometer to calibrate the block so that it is parallel to the side reference surface of the master rail. Then, calibrate the slave rail using the linear block. Starting from one end of the slave rail, calibrate and tighten the mounting screws sequentially to the specified torque.
Moving Platform Method
Secure the two master rails on a measuring platform, while installing only one slave rail. Neither the rail nor the slide are secured to the bed or platform. Use a micrometer attached to the top surface of the slave rail to measure the side reference surface of the slave rail. Starting from one end of the slave rail, calibrate and tighten the mounting screws sequentially to the specified torque.
Imitating the Master Side Slide Method
Secure the two sliders of the master side linear guide and one of the sliders of the slave side guide to the platform. Then, roughly secure the slave side slide and its other slide to the bed and platform, respectively. Move the platform relative to the master side slide. Starting from one end of the slide, confirm the rolling resistance of the slave side linear guide while tightening the assembly screws sequentially to the specified torque.
Special Tool Method
Use specialized tools to determine the position of the slave side slide and tighten the assembly screws sequentially to the specified torque.
2. Usage Precautions
Rail guides are precision parts and therefore require extreme care when handling them. Even high-performance linear guides cannot achieve the expected performance if used improperly and can easily damage the guide. Therefore, the following precautions should be taken when handling linear guides:
2.1 Preventing Rust
When handling rail guides directly, thoroughly wash your hands and apply high-quality mineral oil before handling. Rust prevention is especially important during the rainy and summer months.
2.2 Maintain a Clean Environment
Keep linear guides and their surroundings clean. Even tiny dust particles, invisible to the naked eye, that enter the guide rails can increase wear, vibration, and noise.
2.3 Careful Installation
Rail guides must be installed carefully and with care. Do not use forceful force, strike the guide rails directly with a hammer, or transmit pressure through the rolling elements.
2.4 Use Appropriate Installation Tools
Linear guides should use appropriate and accurate installation tools. Dedicated tools should be used whenever possible, and materials such as cloth and short fibers should be avoided as much as possible.
3. Selection and Calculation
The primary failure modes of rolling element components are fatigue pitting and plastic deformation of the rolling elements and raceways. The corresponding calculation criteria are life (or dynamic load) and static load calculations. Some rolling element components also feature rolling element circulation devices. Failure of these circulation devices is primarily prevented through proper manufacturing, installation, and maintenance.
Dynamic Load Calculation

- C: Basic dynamic load rating (N);
- Pc: Load perpendicular to the direction of motion, P/4;
- fH: Hardness coefficient, generally 1;
- fT: Temperature coefficient;
- fc: Contact coefficient;
- fw: Load factor.
4. Application and Installation of Linear Guides in Equipment
- Before installing rail guides, remove burrs, dirt, and surface scratches from the mechanical mounting surfaces. Note: Linear guides are coated with anti-rust oil before installation. Before installation, clean the reference surfaces with cleaning oil. Removing the anti-rust oil often makes the reference surfaces more susceptible to rust, so it is recommended to apply a low-viscosity spindle lubricant.
- Gently place the main rail on the bed. Use lateral set screws or other fixtures to gently align the linear rail with the lateral mounting surface. Note: Before installation, ensure that the screw holes align. Forcibly tightening the bolts if the machined holes in the base do not align will significantly affect assembly accuracy and performance.
- Lightly tighten the guide rail's set screws, starting from the far end and working toward the near end, until the rail is lightly aligned with the vertical mounting surface. After lightly tightening the vertical reference surface, tighten the lateral reference surface to ensure that the main rail is securely aligned with the lateral reference surface.
- Using a torque wrench, gently tighten the guide rail's set screws to the torque appropriate for the material. 5. Bolt Tightening Torque
Summary
Rail guides are key components of linear motion systems, and their performance directly impacts the accuracy and stability of the equipment. Proper installation ensures smooth guide rail operation, while sound selection and calculation ensure long-term stable operation.