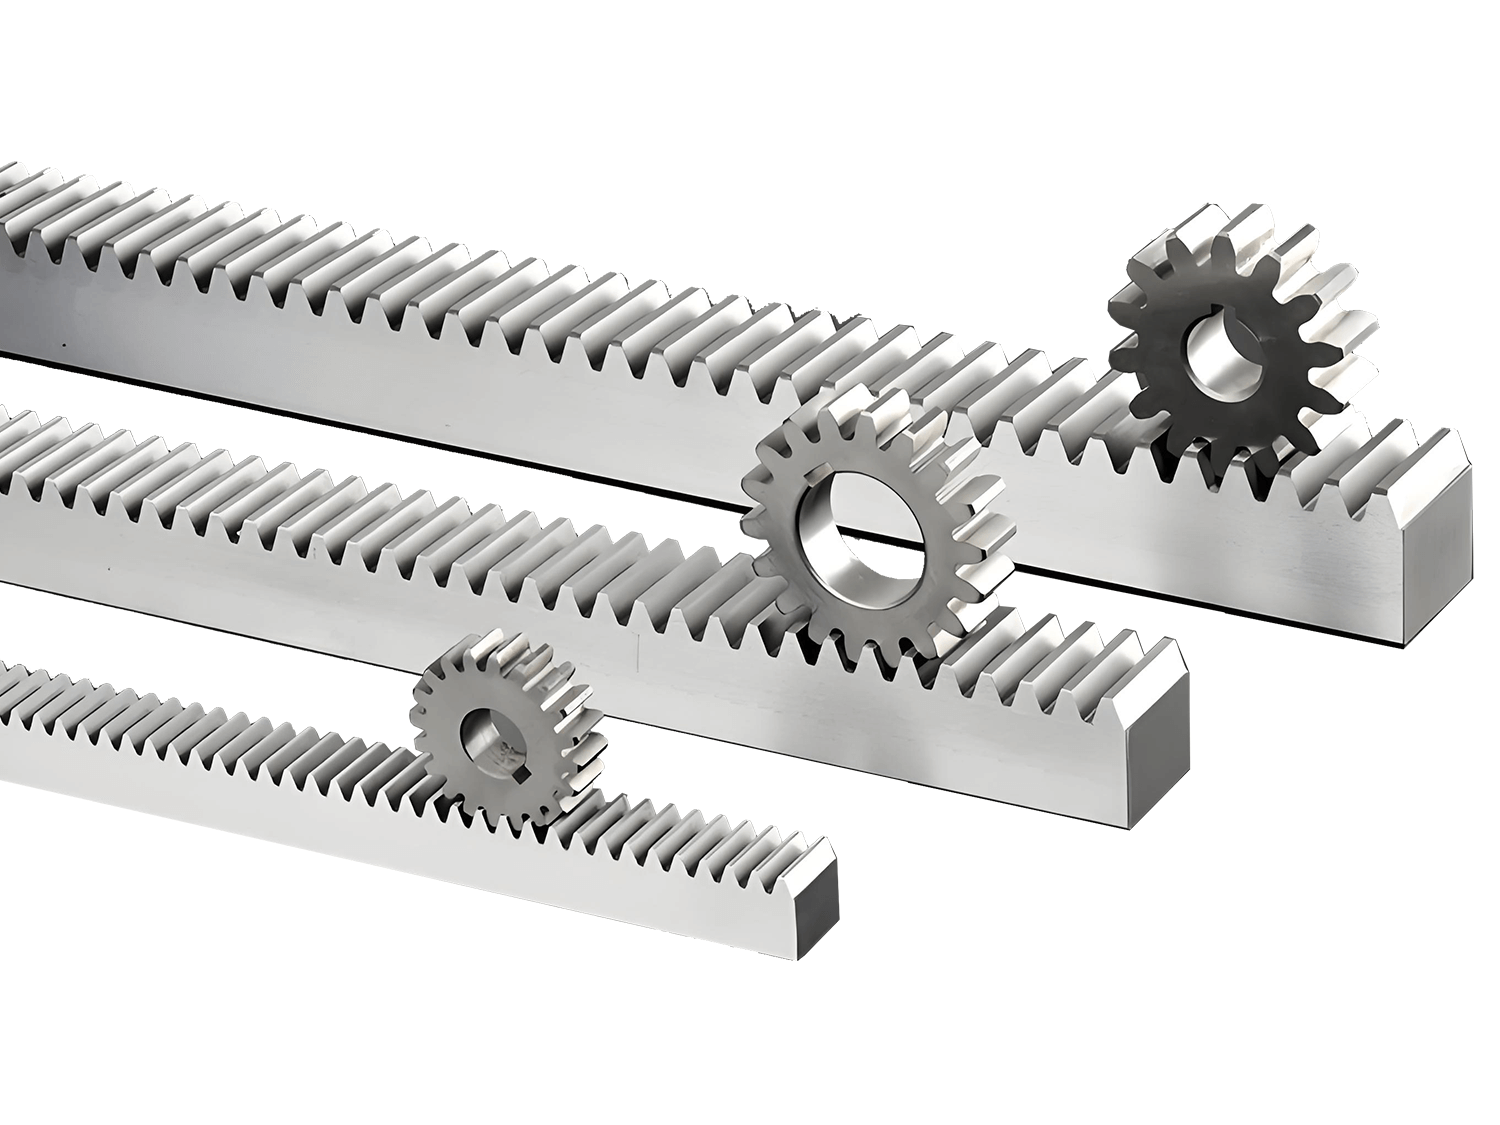
In high-end equipment such as CNC machine tools, industrial robots, and automated production lines, precision racks are widely used in linear motion systems due to their advantages of long travel, high rigidity, and high transmission efficiency. This article will systematically introduce the key indicators that need to be considered during the design process of precision gear racks from an engineering design perspective.
1. Undercutting Judgment
This refers to the phenomenon where, during the process of machining involute precision gear racks using the generating method, the tool's tooth tip sometimes cuts away a part of the involute tooth profile at the root of the gear being machined. Undercutting weakens the tooth root strength and may even reduce the contact ratio, affecting the transmission quality. Although undercutting has adverse effects, some companies now utilize undercutting to compensate for involute interference. When undercutting occurs, the tooth root bending strength value calculated by the software will be larger than the actual value, requiring the engineer to make their own judgment. It is important to note that undercutting does not mean it is absolutely unacceptable; it depends on the actual situation.
2. Tooth Tip Thickness
The symbol is sa, which refers to the arc length at the top of the precision gear rack. The purpose of this value is to ensure the integrity of the gear tooth profile. How to understand this?
When the modification coefficient increases, the gear teeth become sharper. If this value is not checked, engineers may overlook it, resulting in the inability to machine the top of the gear, meaning the tip circle cannot be machined to the required size. In this case, the calculated contact ratio, sliding ratio, etc., will be incorrect. At the same time, a sharp tooth tip can cause chipping due to impact during gear meshing. Once these particles enter the tooth surface, the gear will wear out very quickly. Therefore, the calculation of tooth tip thickness is very important. Generally, Sa ≥0.25mn is required, and for surface-hardened gears, Sa > 0.4 mn is required. Contact ratio, denoted by ε, indicates the number of tooth pairs simultaneously engaged in meshing. For example, ε=1 means that only one pair of teeth is engaged at all times during the gear transmission process. As shown in the figure for the case where ε=1.3, there are two pairs of gear teeth meshing simultaneously in the B2A1 and A2B1 segments of the actual contact line (each with a length of 0.3Pb), which is called the double-tooth meshing zone; while in the A1A2 segment near the node P (length 0.7Pb), only one pair of gear teeth is meshing, which is called the single-tooth meshing zone.
3. Overlap Ratio
Generally, a larger overlap ratio is better. Therefore, in order to ensure continuous and smooth rotation of the gears during design, if precision gear rack tolerances are included in the calculation process, the minimum overlap ratio should be greater than 1.05. If tolerances are not included in the calculation, the overlap ratio should be at least greater than 1.2.
Sliding ratio, denoted by η, is the speed difference between the two meshing points when two gears mesh. Its magnitude affects the wear and heat generation of the gears. During design, we calculate the maximum sliding ratio, which occurs at the position where the tooth tip of one gear meshes with the corresponding tooth of the other gear. The fewer the number of teeth, the larger the sliding ratio tends to be. We recommend that the sliding ratio should not exceed 3, and the maximum should not exceed 5. The sliding ratio is very important for high-speed gears; it can be appropriately relaxed if the linear velocity is not high.
4. Backlash
Denoted by jn, in precision gear rack meshing transmission, in order to form a lubricating oil film between the meshing tooth profiles and prevent jamming due to friction and thermal expansion of the gear teeth, a gap must be left between the tooth profiles. This gap is called the tooth side clearance, or simply backlash. However, the existence of backlash will cause inter-tooth impact, affecting the smoothness of gear transmission. Therefore, this gap can only be very small, usually ensured by gear tolerances. The higher the precision of the gears and housing, the smaller the allowable backlash. Otherwise, an appropriate backlash must be maintained. Therefore, in the design process, we have a parameter called minimum backlash. The minimum backlash is the allowable backlash under static conditions when a gear tooth with the maximum allowable effective tooth thickness meshes with a mating tooth also having the maximum allowable effective tooth thickness at the tightest allowable center distance. It is important to note that the minimum backlash is the result of calculations including tolerances, not calculated based on theoretical values.
In general engineering applications, the recommended minimum backlash is calculated using the following formula:
jbn min = 2/3 × (0.06 + 0.0005 × a + 0.03 × mn), where a is the center distance, which refers to the distance between the axes of the two gears, i.e., the mounting distance between the gear axes. mn is the normal module, which refers to the module of the tool used to machine the gear, and its plane is perpendicular to the helix angle generatrix.
5. Tip Clearance
Symbol c, tip clearance is the gap between the tooth tip of one gear and the tooth root of the other gear when a pair of gears mesh. It is mainly controlled by the tip clearance coefficient. During design, it is important to note that the tip clearance should not be too small, otherwise it will cause impact when the center distance changes. The tip clearance also serves to store oil, so maintaining an appropriate tip clearance is necessary. Generally, controlling the tip clearance to 0.25mn is sufficient.
6. Involute Interference Judgment
When the tooth tip of one precision gear rack contacts the transition curve at the root of the other gear, the transmission ratio cannot be guaranteed to be constant. This situation is called transition curve interference. This interference may occur when the absolute value of the selected modification coefficient is too large. This phenomenon is very likely to occur when the number of gear teeth is small. Once this phenomenon occurs, we can see obvious wear on the root of the small gear and the tip of the large gear. If operation continues, it will lead to wear on the entire tooth surface. Involute interference must be eliminated during design. Some engineers believe that root cutting the small gear can eliminate involute interference, but this is not entirely correct. Careful calculation is required to determine whether involute interference has been eliminated.
Summary
Precision gear rack design is a systematic engineering process involving multiple aspects. Only by comprehensively and rationally considering these key parameters during the design phase can the gear rack achieve high precision, high stability, and long service life in practical applications.
