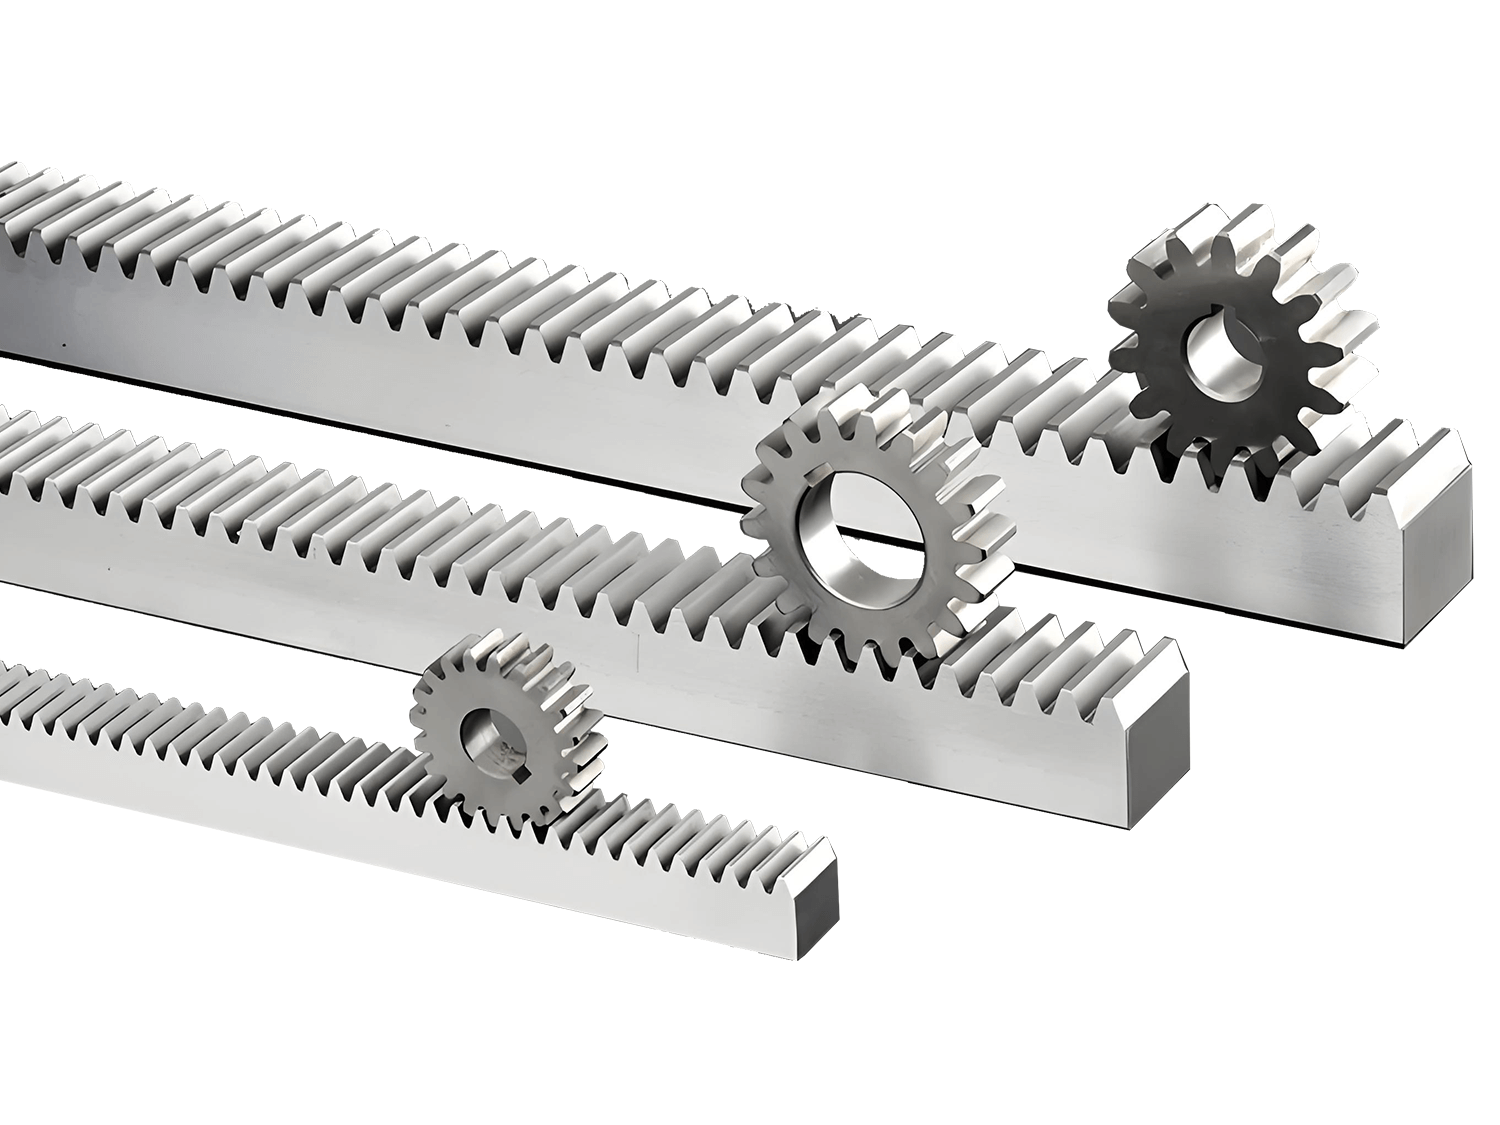

When designing custom rack and pinions, it's essential to consider the application scenario (e.g., automation equipment, machine tool drives, robotic joints, lifting devices, etc.) and comprehensively address all aspects of design, manufacturing, assembly, and use. Here are the main considerations:
1. Design Considerations
1.1 Material Selection
The materials for gears and racks should have sufficient strength, hardness, and wear resistance. Common materials include carbon steel, alloy steel, and cast iron. For high-speed, heavy-duty applications, higher-performance alloy steels should be used, and appropriate heat treatment, such as quenching and tempering, should be applied to enhance material properties.
1.2 Manufacturing Precision
The manufacturing precision of gears and racks directly affects the smoothness and accuracy of the transmission. Select the appropriate precision grade based on the transmission requirements. Generally, higher precision transmissions require higher precision gears and racks, but this will increase manufacturing costs.
1.3 Lubrication and Sealing
Proper lubrication reduces friction and wear between the gears and racks, improving transmission efficiency and lifespan. Select the appropriate lubrication method and lubricant based on operating conditions. Effective sealing measures are also necessary to prevent lubricant leakage and external contaminants from entering, ensuring the proper operation of the gears and racks.
1.4 Installation and Debugging
During installation, ensure the parallelism of the gear and rack axes, the center distance, and other geometric accuracy. After installation, conduct debugging to check the smoothness of the transmission, noise levels, and backlash, making adjustments as necessary.
2. Installation Considerations
2.1 Confirm Motion Direction and Positioning Accuracy
When designing a rack and pinion transmission, confirm the direction of motion (horizontal or vertical) and select the appropriate size of rack and pinion. Consider the required positioning accuracy and select the corresponding precision level. Understand the mounting surface requirements and design tolerances for the components.
2.2 Check for Chamfer Details
Check if the rack has chamfer details. This affects whether clearance needs to be designed into the mounting components. Proper chamfer design reduces interference during installation and improves efficiency.
2.3 Provide Adjustable Clearance Mechanisms
The mechanism for securing the gear should have an adjustable clearance mechanism to allow for adjustment during installation. Proper clearance ensures smooth operation of the rack and pinion system, reducing vibration and noise.
2.4 Rack Mounting Surface Parallelism with Guide Rail Reference Surface
The rack mounting surface should be parallel to the guide rail reference surface, with specified tolerance requirements. This ensures stability and accuracy during rack installation.
2.5 Measurement and Adjustment During Installation
During installation, continuous measurement and adjustment are necessary to ensure the positional accuracy of the rack and pinion. Use tools such as a rack gauge to measure, and adjust the rack position and clearance based on the measurement results.
2.6 Post-Installation Testing and Trial Run
After installation, a comprehensive test should be conducted, including checking the meshing of the rack and pinion, clearance, parallelism, and straightness. A trial run should also be performed to check the stability and operational efficiency of the system.
3. Usage and Maintenance Precautions
3.1 Avoid Damp Environments
Do not lubricate the rack on rainy days; ensure the rack surface is dry to prevent rust or reduced lubrication effectiveness due to oil and water mixing.
3.2 Lubrication After Cleaning
After cleaning, wiping, or using solvent to clean the rack, relubricate it.
Lubrication reduces wear and noise during rack operation, extending its lifespan.
3.3 Localized Lubrication Principle
Only lubricate critical parts of the rack; apply a small amount of lubricant to other areas for rust prevention.
Avoid over-lubricating the entire rack to prevent dust accumulation.
3.4 Lubricant Penetration and Drying
Allow the lubricant to fully penetrate the meshing area of the rack and pinion.
Wait until the lubricant becomes viscous or dries naturally before use to ensure optimal lubrication.
3.5 Wipe Off Excess Lubricant
Wipe off excess lubricant from the rack surface with a dry cloth to prevent dust and dirt accumulation, maintaining cleanliness.
3.6 Lubrication Purpose and Auxiliary Devices
The two main purposes of rack lubrication:
- Cooling the gear teeth;
- Reducing friction coefficient, improving transmission efficiency.
An automatic rack lubrication system can be installed if necessary to save labor and ensure even lubrication.
Summary
Custom rack and pinion systems involve multiple stages: design, manufacturing, assembly, and use. The accuracy and adherence to procedures at each stage directly affect the performance and lifespan of the transmission system.